High Resolution Scanning

While not necessary for most projection systems, there are some cases, where scanning the screen shape in high resolution is useful.
For example projection mapping on detailed discontinuous shapes requires knowledge of the exact 3d shape of the object or scene to project on. If this shape is not known in advance and no appropriate scanners are at hand, this shape can be constructed directly with ProjectionTools.
The scanning process requires at least one projector (for projecting the structured light) and two camera positions (for triangulating the 3d shape).
The achievable resolution is related to the projector and camera resolution.
A higher resolution and greater coverage of the objects can be achieved with multiple projectors projecting from different sides and additional cameras or camera positions.
Settings

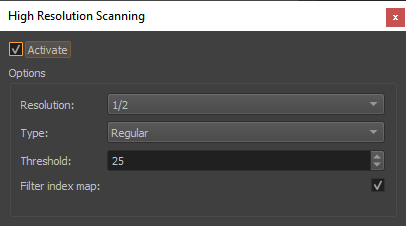
High Resolutio Scanning Settings
- Activate
Activate high resolution scanning during standard capturing process.
- Resolution
Select scanning resolution, relative to projection channel resolution.
- Type
Select the pattern and algorithm used for scanning.
- Regular
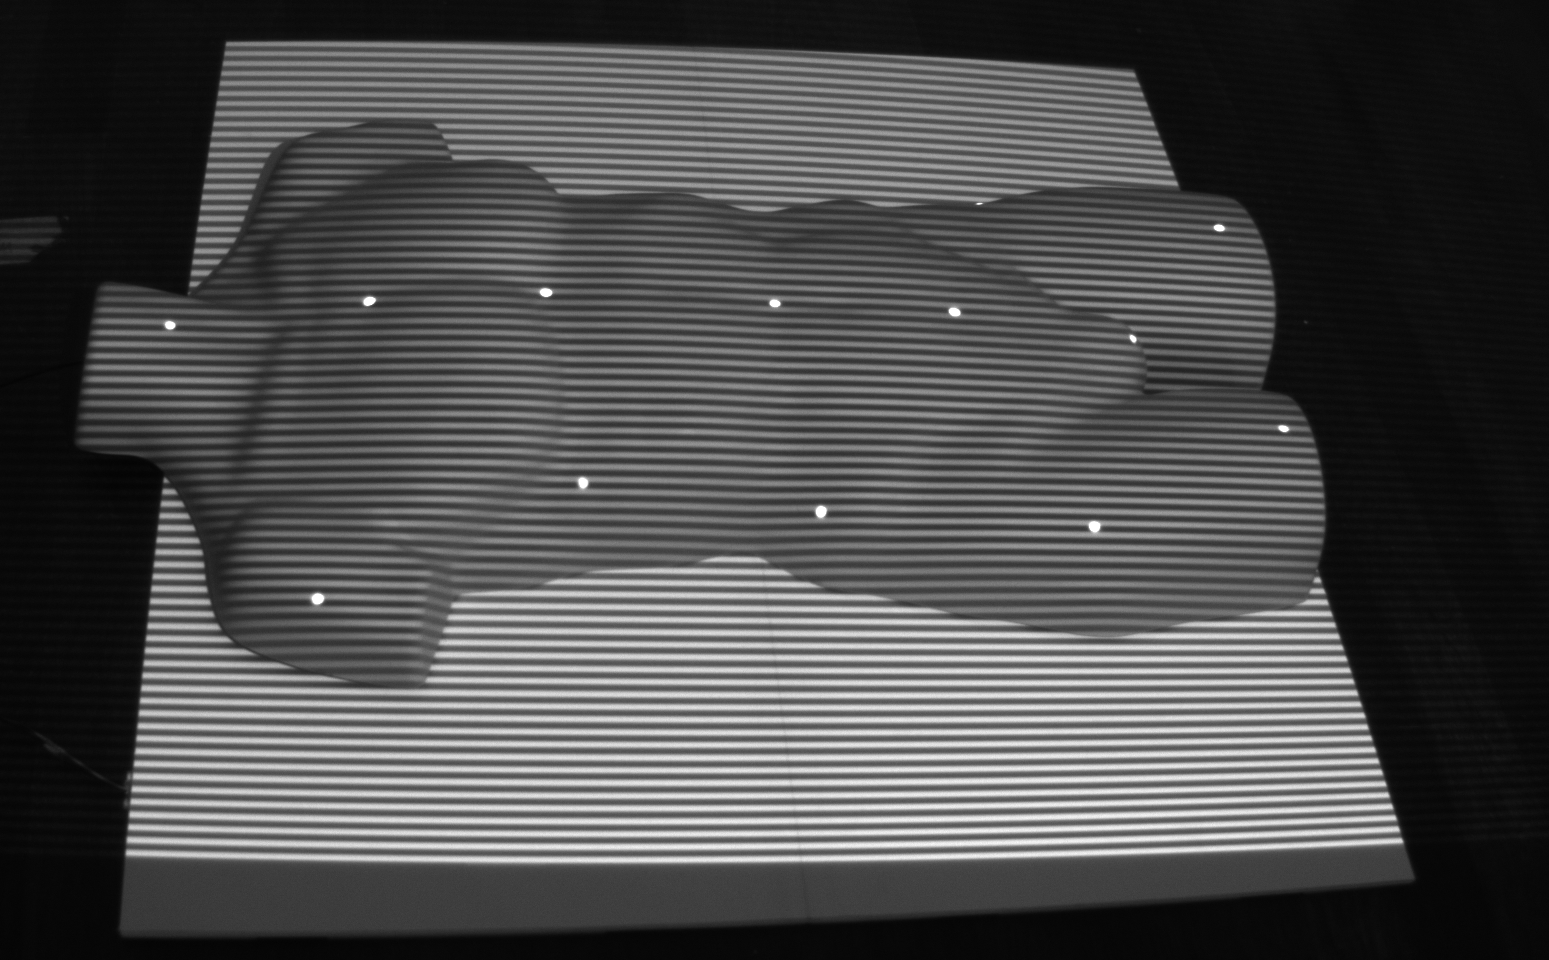
Regular gray code, projecting a sequence of rough to fine striped images.
- XOR-04
A modified version, always projecting fine striped images. This produces more constant lighting conditions during the whole sequence. Well suited for scenes with much cross-reflection, but less robust against aliasing. Make sure the camera has enough resolution to capture the finest lines safely.
- Threshold
Binarisation threshold used for analysing the captured images.
- Filter index map
Removes noise in the captured index map. Might remove fine details.
Usage
The capture process can be included in a standard calibration project with at least two camera positions, following these steps:
Open the High Resolution Scanning dock using
Activate High Resolution Scanning
Select resolution and check if the pattern is clearly visible in the camera using the preview stripes and having a look at the camera image at “1:1” zoom. If the camera resolution is too low, reduce the resolution of the calibration pattern.
Proceed with data capturing as usual. The required stripe patterns will be captured in addition to the dot pattern.
Generate 3d will now also create dense pointclouds for each projection channel.
In order to use the data use in Creator or MapperPM. Here you can cleanup the pointcloud, mesh the surface or even fit standard screen shapes. See chapter Pointcloud Conversion Pointcloud Conversion for further details.
The extracted shapes can than be used as screen in Creator for simpler recalibration, and as a Mapping in MapperPM for projection. The data can also be exported for further preparation in external modeling software.