Marker Mover
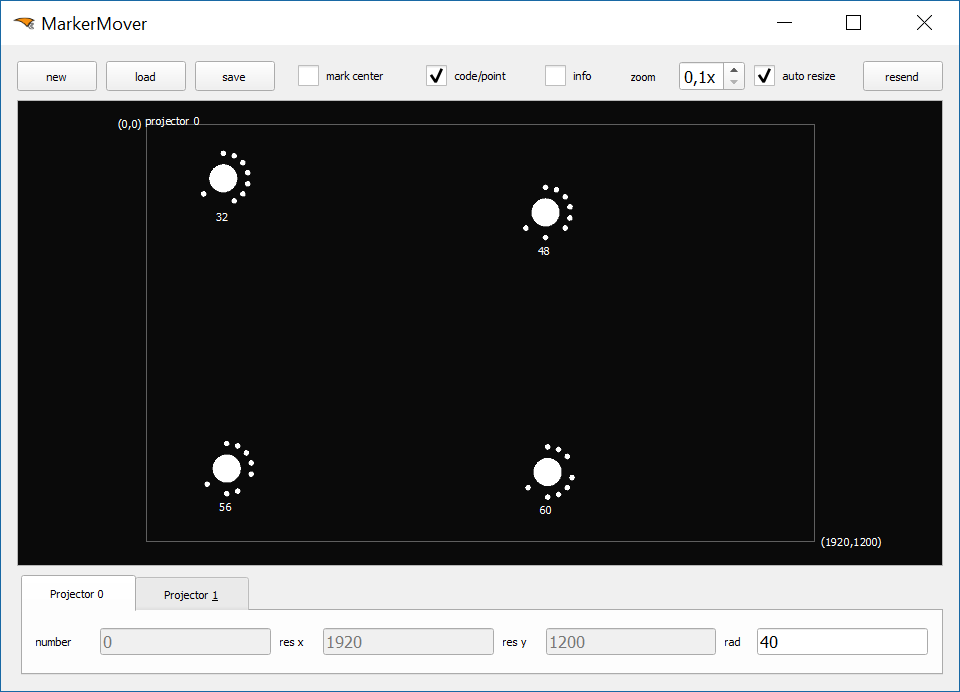
Using the Marker Mover you can display unique markers on the screen which can be recognized by image processing algorithms. They are used for measuring the screen. Since those markers have to be perfectly visible (no obstacles behind, no overlapping) and evenly distributed across the projection we provide this tool to interactively edit their positions.
The Marker Mover is available through “” in Creator.

All UI elements are described in the follwing reference section
- new:
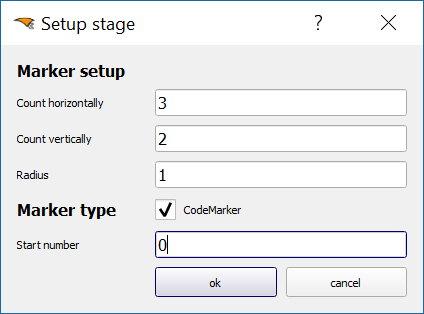
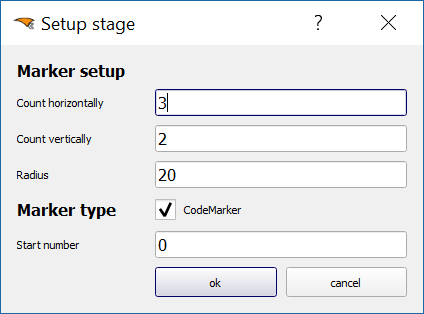
creates a new project, you can set the number and properties of the projectors and markers
- load:
load a saved project
- save:
save a project into the creator internal data structures. Two files are generated in the subfolder code:
codemarker_all.txt contains the data for the Creator
codemarker.txt contains the data in a format readable by the MarkerMover
- mark center:
display a cross in the middle of a marker. Use this if you want to measure the marker position with the Leica Disto 3D
- code/point:
switch between two render modes. Code displays a recognizable marker with id number (for image processing) and point shows only a point with the index number (better for measuring with Leica Disto 3D).
- info:
highlight current projector and projection boundaries on the projection. Useful for changing the marker positions.
- zoom:
change the size of the preview
- auto resize:
fit the preview to the window
- resend:
send all data to the PatternGenerator software at once. Use this if you want to manually update the projection.
- Main Window:
you can move all markers with the mouse (hold left mouse button). All changes are previewed life on the projection.
- Projector panel:
displays projector properties
number: id number of projector
res x: width of projection screen
ip: res y: height of projection screen
rad: radius of the markers (adjustable).
Usage
The marker mover can be used to temporary place markers on screen using PatternGenerator. These markers can be measured (e.g with a Leica Disto3D) and then used as reference markers in the Position Finder.
Be aware that these markers should only be used temporary. When the projectors are moved after points 3d positions where measured, camera positions can no more be calculated correctly. When projectors have moved, markers must be measured again!
Use the “New” button to create a new set of markers. The following image shows a typical setting for measurement with a Leica Disto 3D. Note that “CodeMarker” is disabled and “Start Number” is set to 3. This makes mapping of data exported from Disto 3D easier to map to projected points after importing the data into Position Finder.

Markes can be moved by dragging in the central widget. A live preview is shown on connected PatternGenerators.
