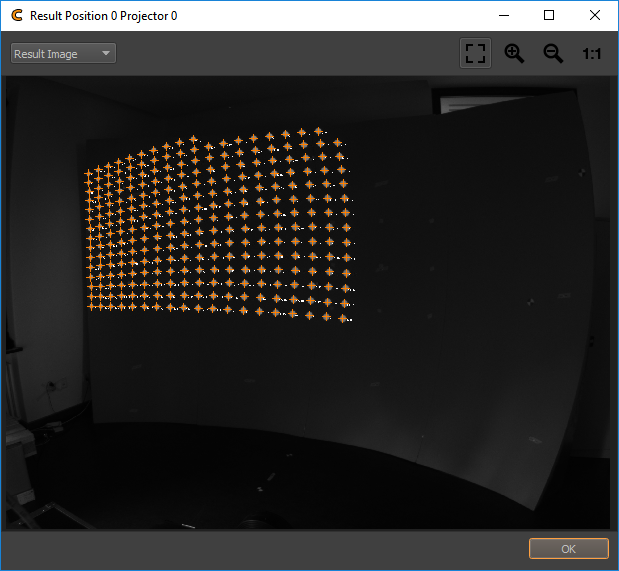
Result View
Shows a detailed result of dot pattern recognition and allows to find obstacles disturbing lights or reflections that might have negatively influenced the calibration.

- Layer Selection:
Select between multiple images showing different stages of the detection process.
- Black Image:
First image taken with camera. Should contain no dots.
- White Image:
Second image taken with camera. Should contain dots.
- Average Image:
Average of Black and White Image
- Binary Image:
Black/White Image. Dots should be full white, rest should be black, otherwise check threshold and camera parameters.
- Contour Image:
Shows contours around each dot. Each dot should have exactly one closed contour. If contours are shown, but orange crosses missing. Check dot radius min/max setting in Recognition Settings (see section Recognition Settings)
- Result Image:
Shows column and row number in each detected dot.
- Zoom Options:
Select between different zoom levels and automatic fitting using toolbuttons on top right.
- Navigation:
If zommed in, the image can be moved around with left mouse button.
Ideally each projected point should have an orange cross in the middle, showing that it was successfully recognized. Otherwise some of the following artifacts might be visible:
- Undetected Points:
If several points are not detected, this might be due to an obstacle (remove and recapture images) or too poor light conditions (check camera settings and recognition threshold).
- False detected points:
No orange crosses should be found outside of the actual projection area. These might be false detections induced by disturbing lights or reflections. Turn off the disturbing lights or use a position or projector mask to block detection in these areas of the camera image (see section Mask Editor).
- Half Dots:
Dots that are only partly visible usually have a wrong center detected. These should not not be used for calibration. Remove these dots using the dot pattern editor (see section Dot Pattern Editor)